Concepts for Success: Six quick food photography tips
April 4, 2022
By Diane Chiasson
Techniques, tips and tricks to help your products make their best impact on customers’ perception of your bakery
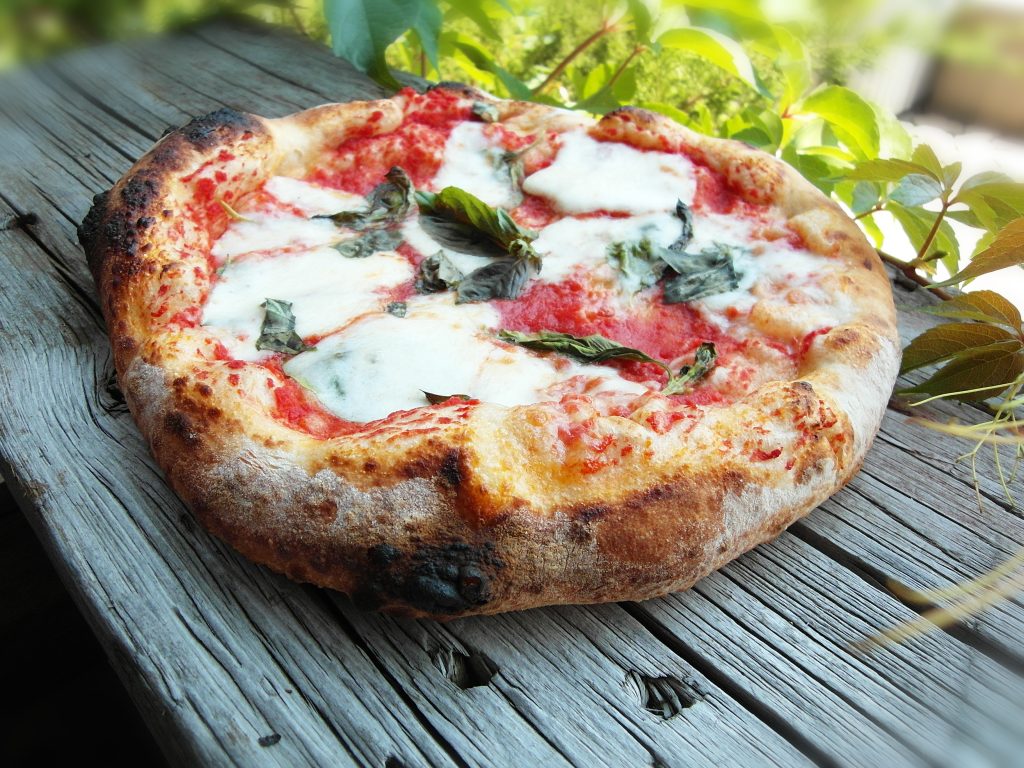
 Photo: Frank Mazzucca, Family Style
 A bakery’s food photography plays a crucial role in its overall brand image. The visual appeal of beautifully photographed bakery products will have a tremendous impact on how customers perceive your brand and whether or not they visit your bakery to try your products. In addition, food photography makes for excellent online marketing opportunities because photos are there to stay for many years.
If you are looking to improve your social media presence or simply update your website, knowing how to take quality bakery food product photos will help your business evolve. Good photos will help your brand’s online presence and increase your online orders. However, bad photos that look unprofessional will have exactly the opposite effect.
Using a good-quality camera is crucial. However, smartphones now include powerful cameras that also can be used for food photography.
Here are six quick food photography techniques, tips and tricks for your bakery operation.
1. Get inspired
Start finding inspiration if you wish to take unique food photos that resonate with your customers. Study a few of your favourite food photographers. Instagram is probably one of the most prominent places for new food photographers to connect and find inspiration. Checking food blogs is the best way for you to learn more about photographers’ tricks. Check food and lifestyle magazines and cookbooks at bookstores, and peruse recipe pamphlets in grocery stores and supermarkets. All of these will expand your understanding of light, composition, colour and editing.
2. Use your best-looking food products
When it comes to the art of food photography, the devil is in the details. Professional food photographers spend a lot of time searching through dozens or hundreds of perfect-looking bakery products; they also have an arsenal of tricks up their sleeves to make food look delicious on camera.
3. Use natural light
When taking photos, be mindful of light and colour in your final images. The best tip for great food photography lighting is to use plenty of natural light. Try to photograph your food next to a sun-drenched window, giving your photos a more natural appearance. Food looks best when the natural, indirect light comes from behind or from the side, usually creating the best images. Also, you want to avoid any glares or strange bright spots that direct light can cause. Finally, never, never use the flash. Flash photos of food create flat and harsh reflections and glares, resulting in unappetizing images.
4. Manipulate the light
Don’t spend a lot of money on lighting equipment. Instead, use these inexpensive solutions, which will work just fine. For example, use a white foam board that will reflect the light to eliminate shadows and brighten certain areas of your food plating. Tin foil and white printer paper are just a few other inexpensive yet incredibly effective reflecting tools you could use to bounce light back over your food.
Wear a white t-shirt when you start taking photos: your t-shirt will act as a reflector.
5. Play with good staging
Presentation and good composition are essential. Think about your photos telling a story. Your food photography setup should not be overwhelming but rather complement your food. In food photography, plating techniques and food presentation matter the most. Use different props and backgrounds to see what you like best. Try to use a neutral background to highlight the vivid colours of your food.
Choose simple compositions and concentrate on the main topic – your food. Dark backgrounds are perfect for dark-coloured foods, whereas light backgrounds best emphasize light-coloured foods. Wooden backgrounds, such as tables or chopping boards, will work just fine with any type of food. Parchment paper, baking trays, sheet pans, chopping boards, rattan baskets, slate cheese boards, newspapers, carpet or rug, tiles, black chalkboards, tea towels, napkins and tablecloths with floral or geometric coloured patterns, as well as flowers or a dash of fresh herbs, ingredients and spices, will provide colours and textures.
6. Use your branded bakery products and packaging
The main focus of each photo should be the food itself. However, adding some subtly branded items in the background will strongly reinforce your brand. Don’t choose a busy background as it will distract from what you really want people to look at: the food. Select unique overall brand products such as bakery boxes, bags, ribbons or specialty sauce bottles. These small touches in your images will be a great opportunity to convey your brand image and remind your customers of your unique atmosphere and products.
You now know a few tricks on how to photograph your food like a pro. You are ready to start capturing some of your stunning bakery food products of your own!
Diane Chiasson, FCSI, president of Chiasson Consultants Inc., has been helping foodservice, hospitality and retail operators increase sales for over 35 years by providing innovative and revenue-increasing food service and retail merchandising programs, interior design, branding, menu engineering, marketing and promotional campaigns. Contact her at 416-926-1338, send her an email at chiasson@chiassonconsultlants.com, or visit www.chiassonconsultants.com.
Print this page