Cookie Puzzles
November 25, 2016
By Catherine Beddall
Cookie Puzzles
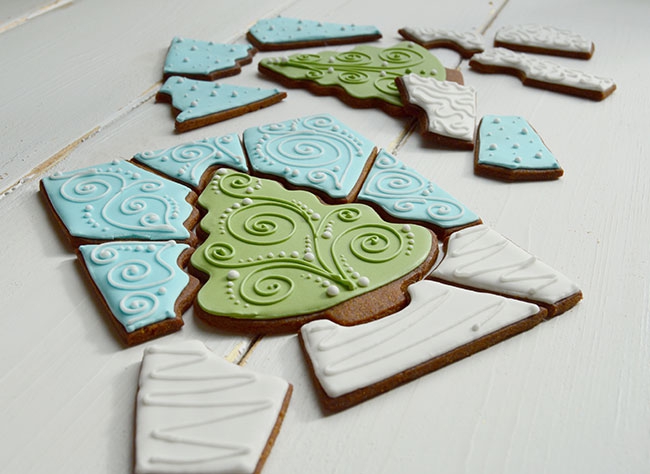 Edible art, decorating gingerbread cookies is a great way to add value and pump up the gift-worthiness of these treats especially around the holiday season. Photo: Catherine Beddall
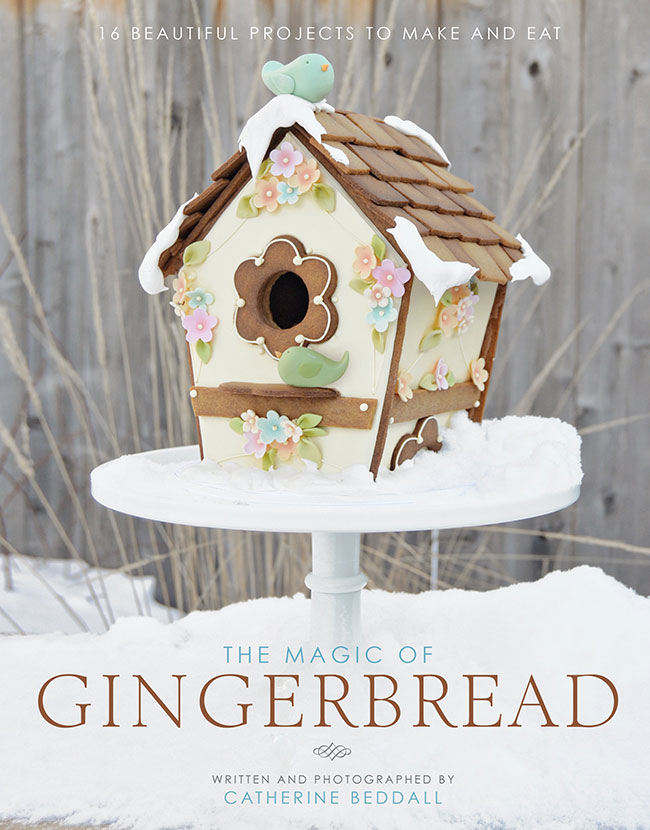
Packaged in cello a gingerbread cookie puzzle makes a perfect stocking stuffer or gift for friends and family. This recipe comes from Catherine Beddall’s new book, The Magic Of Gingerbread, that includes instructions for baking, constructing and decorating gingerbread creations from scratch.
Based in Ottawa, Beddall is a pastry artist who runs her own business and is an instructor at Algonquin College.
INGREDIENTS
- Shortening – 200 g
- Granulated sugar – 200 g
- Molasses – 160 g (regular or fancy, not blackstrap)
- Water – 30 ml
- All-purpose flour – 480 g
- Ground ginger – 10 g
- Salt – 7 g
- Baking soda – 3 g
YIELD 5 PUZZLE COOKIES
Advertisement
METHOD
- Preheat oven to 350°F.
- Beat shortening and sugar with a stand mixer fitted with the paddle attachment until light and fluffy, about 1 minute.
- Add molasses and water; beat until incorporated. Scrape down the sides of the bowl and beat another 30 seconds.
- Sift together dry ingredients. Add to shortening mixture; beat on low speed until ingredients are incorporated and dough is crumbly and sticks together when pressed.
- Roll out about half of the dough between two sheets of parchment paper as close as possible to 1/8-inch thick. Remove the top sheet of parchment. Cut rectangle shapes in the sheet of dough, about 5- x 6-inches. Remove the excess dough from around the rectangles and gather together for re-rolling.
- Place a tree-shaped cookie cutter in the middle of each rectangle, press down firmly, and remove.
- Place the tip of a paring knife at the outer edge of the tree shapes and draw the knife outwards to the edge of the rectangles, cutting lines through the dough.
- Lift the parchment paper onto a baking sheet and freeze for about 15 to 20 minutes.
- Once the sheet of dough is thoroughly chilled, gently lift each shape with the tip of your paring knife and separate them from each other on the baking sheet (they should still sit on the bottom sheet of parchment paper). Each shape should be at least 1/2-inch apart.
- Bake for about 10 to 12 minutes at 350 F (175 C) or until the edges of the shapes are slightly browned.
- Let the pieces cool completely.
- Gently file down the sides of the outside pieces with a lemon zester if the edges aren’t perfectly straight.
DECORATE
- Pipe an outline of green royal icing on the Christmas tree, an outline of white royal icing on the bottom shapes (to represent snow) and an outline of light blue royal icing on the top shapes (to represent the sky).
- Flood the shapes with thinned royal icing in the corresponding colour for each shape.
- Let the icing set for about an hour.
- Overpipe with designs of your choice – swirls and dots look great!
- Let all pieces dry completely.
Edible art, decorating gingerbread cookies is a great way to add value and pump up the gift-worthiness of these treats especially around the holiday season.
Print this page
Advertisement
Stories continue below
Leave a Reply